
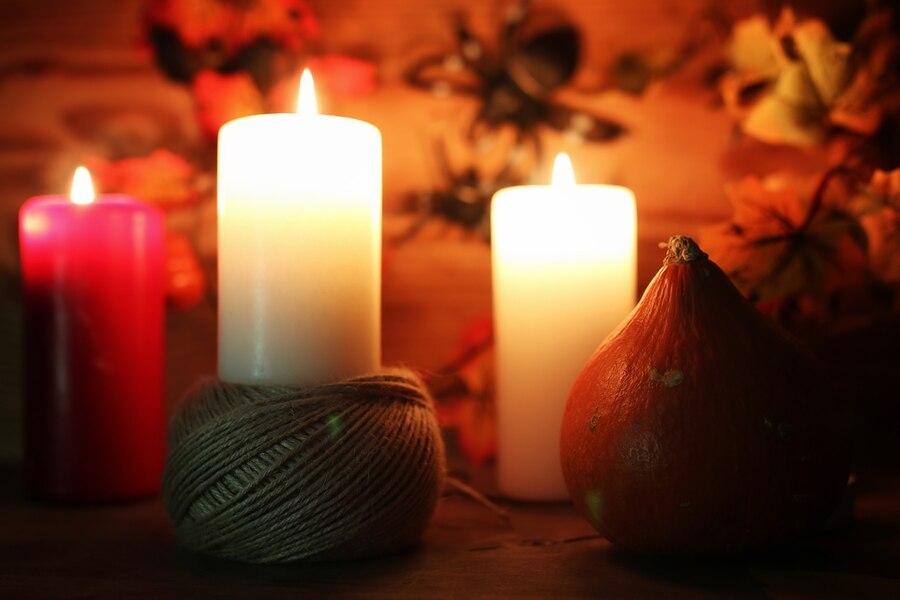
Introduction
Candle making is an ancient craft that has evolved into a popular hobby and even a thriving business. The art of crafting your own candles offers endless possibilities for personalization. Whether you are looking to create a relaxing atmosphere with a scented candle, add a decorative touch to your home, or even start your own candle-making business, this guide will provide you with all the essential information you need to get started.
In this blog, we’ll walk you through the basics of candle making, the types of wax and fragrances available, essential tools, and step-by-step instructions for creating your own beautiful candles.
Candle making involves melting wax, adding fragrance and color (if desired), and pouring it into a mold or container to harden. It’s a straightforward process that can be tailored to suit various needs, from simple decorative candles to more intricate creations with layered colors and multiple fragrances.
There are several different types of candles you can make, including:
The materials you use will play a crucial role in the look, burn quality, and scent of your candle. Here are the main ingredients:
Wax
Wax is the foundation of any candle. Different types of waxes have different qualities, so it’s essential to choose one that suits your project. Common types of wax include:
Wicks
The wick is the part of the candle that burns, and choosing the right wick is essential for a good burn. Wicks come in different materials, such as cotton, wood, and hemp, and come in a variety of sizes based on the diameter of the candle.
Fragrance
Scented candles are incredibly popular and can make a room feel more inviting. You can choose from a wide range of candle fragrances, such as floral, fruity, woody, or seasonal scents. It’s essential to use fragrance oils specifically designed for candles, as they are designed to withstand the heat from the burning wick.
Dye
If you want to add color to your candles, you can use candle dyes. These are typically available in liquid or block form and are specially designed for use with wax.
Containers or Molds
For container candles, any heat-resistant jar or vessel works well. Glass jars, teacups, and mason jars are popular choices. For molded candles, you can use silicone molds, metal molds, or even ice cube trays for fun shapes.
Before you begin, make sure you have the necessary tools:
Here’s a simple guide to help you make your first candle:
Clear a flat, heat-resistant surface and gather all your tools and materials. Make sure you have protective covers to avoid wax spills and burns.
Measure how much wax you will need by estimating the volume of your container. A general rule of thumb is that 1 pound of wax will fill approximately two 8-ounce containers.
Place your wax in a double boiler or microwave-safe container. Heat the wax gently, stirring occasionally to ensure it melts evenly. Monitor the temperature with a thermometer—most waxes should be melted between 170°F and 180°F (77°C – 82°C).
Once your wax is melted, remove it from the heat and add your fragrance oil. A typical ratio is about 1 ounce of fragrance per pound of wax, but you can adjust depending on how strong you want the scent to be. If you’re adding dye, do so at this stage, using the recommended amount as per the dye’s instructions.
Before pouring the wax into your container or mold, attach the wick to the bottom. You can use a wick sticker or a small amount of melted wax to secure it in place.
Slowly pour the melted wax into your container, leaving about half an inch from the top. Ensure that the wick stays centered as you pour. If needed, you can use a wick holder to keep the wick straight.
Allow your candle to cool and harden for at least 4-6 hours. During this time, avoid disturbing the candle to ensure an even finish.
Once the candle has cooled and solidified, trim the wick to about 1/4 inch above the surface of the candle.
Candle making is a rewarding and creative craft that can bring a personal touch to your home or be a great gift for friends and family. Whether you’re creating scented candles to relax with after a long day or trying your hand at intricate designs, the possibilities are endless. With the right materials, tools, and a little patience, you can master the art of candle making and enjoy the process every step of the way.
Ready to start making your own candles? Whether you’re a beginner or an experienced crafter, Tristan DIY has everything you need, from ColorCraft Canvas to premium candle-making kits, to help you create your perfect candle. Explore our collection and begin your DIY journey today!